
- Conda
- Create a virtual environment
- Install TensorFlow
- Install JupyterLab
- Install other dependencies
- Run TensorFlow in JupyterLab
- Install VSCode
- Run TensorFlow in VSCode
- Summary
- Further reading
In Deep Learning on M1 Mac, it shows how to build a deep learning environment on M1 Mac. Considering that other friends are ordinary Mac, this article shows how to install the deep learning environment on an ordinary Mac.
Conda
Conda is a language-independent cross-platform binary package manager. It is the package manager used for Anaconda installation, but it can also be used on other systems.
Here you can use Anaconda or Miniconda which only contains conda and its dependencies.
Note: Lightweight Miniconda is more recommended. Because for beginners, Conda is mostly used to create virtual environments, Anaconda is rich in features, but it seems overkill here, and the installation package takes up a lot of space.
Anaconda
If you choose Anaconda, go to Official Website to download and install it.
Miniconda
Miniconda provides a variety of installation methods, which can be downloaded from Official Website and installed according to the prompts.
1
2
3
4
5
6
7
8
9
10
11
12
13
14
15
16
17
18
19
20
21
22
23
24
25
26
27
28
29
30
31
32
33
34
35
36
37
38
39
40
41
42
43
44
45
❯ zsh Miniconda3-latest-MacOSX-x86_64.sh

Welcome to Miniconda3 py39_4.11.0

In order to continue the installation process, please review the license
agreement.
Please, press ENTER to continue
......
Miniconda3 will now be installed into this location:
/Users/catchzeng/miniconda3

  - Press ENTER to confirm the location
  - Press CTRL-C to abort the installation
  - Or specify a different location below

[/Users/catchzeng/miniconda3] >>>
PREFIX=/Users/catchzeng/miniconda3
Unpacking payload ...
Collecting package metadata (current_repodata.json): done
Solving environment: done
......
Do you wish the installer to initialize Miniconda3
by running conda init? [yes|no]
[yes] >>> yes
no change     /Users/catchzeng/miniconda3/condabin/conda
no change     /Users/catchzeng/miniconda3/bin/conda
no change     /Users/catchzeng/miniconda3/bin/conda-env
no change     /Users/catchzeng/miniconda3/bin/activate
no change     /Users/catchzeng/miniconda3/bin/deactivate
no change     /Users/catchzeng/miniconda3/etc/profile.d/conda.sh
no change     /Users/catchzeng/miniconda3/etc/fish/conf.d/conda.fish
no change     /Users/catchzeng/miniconda3/shell/condabin/Conda.psm1
no change     /Users/catchzeng/miniconda3/shell/condabin/conda-hook.ps1
no change     /Users/catchzeng/miniconda3/lib/python3.8/site-packages/xontrib/conda.xsh
no change     /Users/catchzeng/miniconda3/etc/profile.d/conda.csh
modified      /Users/catchzeng/.zshrc

==> For changes to take effect, close and re-open your current shell. <==

If you'd prefer that conda's base environment not be activated on startup,
   set the auto_activate_base parameter to false:

conda config --set auto_activate_base false

Thank you for installing Miniconda3!
Create a virtual environment
Create a tensorflow virtual environment
1
❯ conda create -n tensorflow python=3.9
Activate the environment
1
❯ conda activate tensorflow
Install TensorFlow
Install the specified version (2.8.0) TensorFlow here
1
❯ pip install tensorflow==2.8.0
Checking
1
2
3
4
5
6
7
❯ python
Python 3.9.7 (default, Sep 16 2021, 08:50:36)
[Clang 10.0.0 ] :: Anaconda, Inc. on darwin
Type "help", "copyright", "credits" or "license" for more information.
>>> import tensorflow as tf
>>> print(tf.__version__)
2.8.0
Install JupyterLab
JupyterLab is known as the next-generation notebook, and it is highly recommended. Compared to Jupyter Notebook, JupyterLab is more like an IDE which supports automatic completion (just TAB directly), theme setting, multi-window opening, etc.
1
❯ pip install jupyterlab
Start up
1
❯ jupyter lab
It will be automatically opened in a browser.
Install other dependencies
1
❯ pip install matplotlib
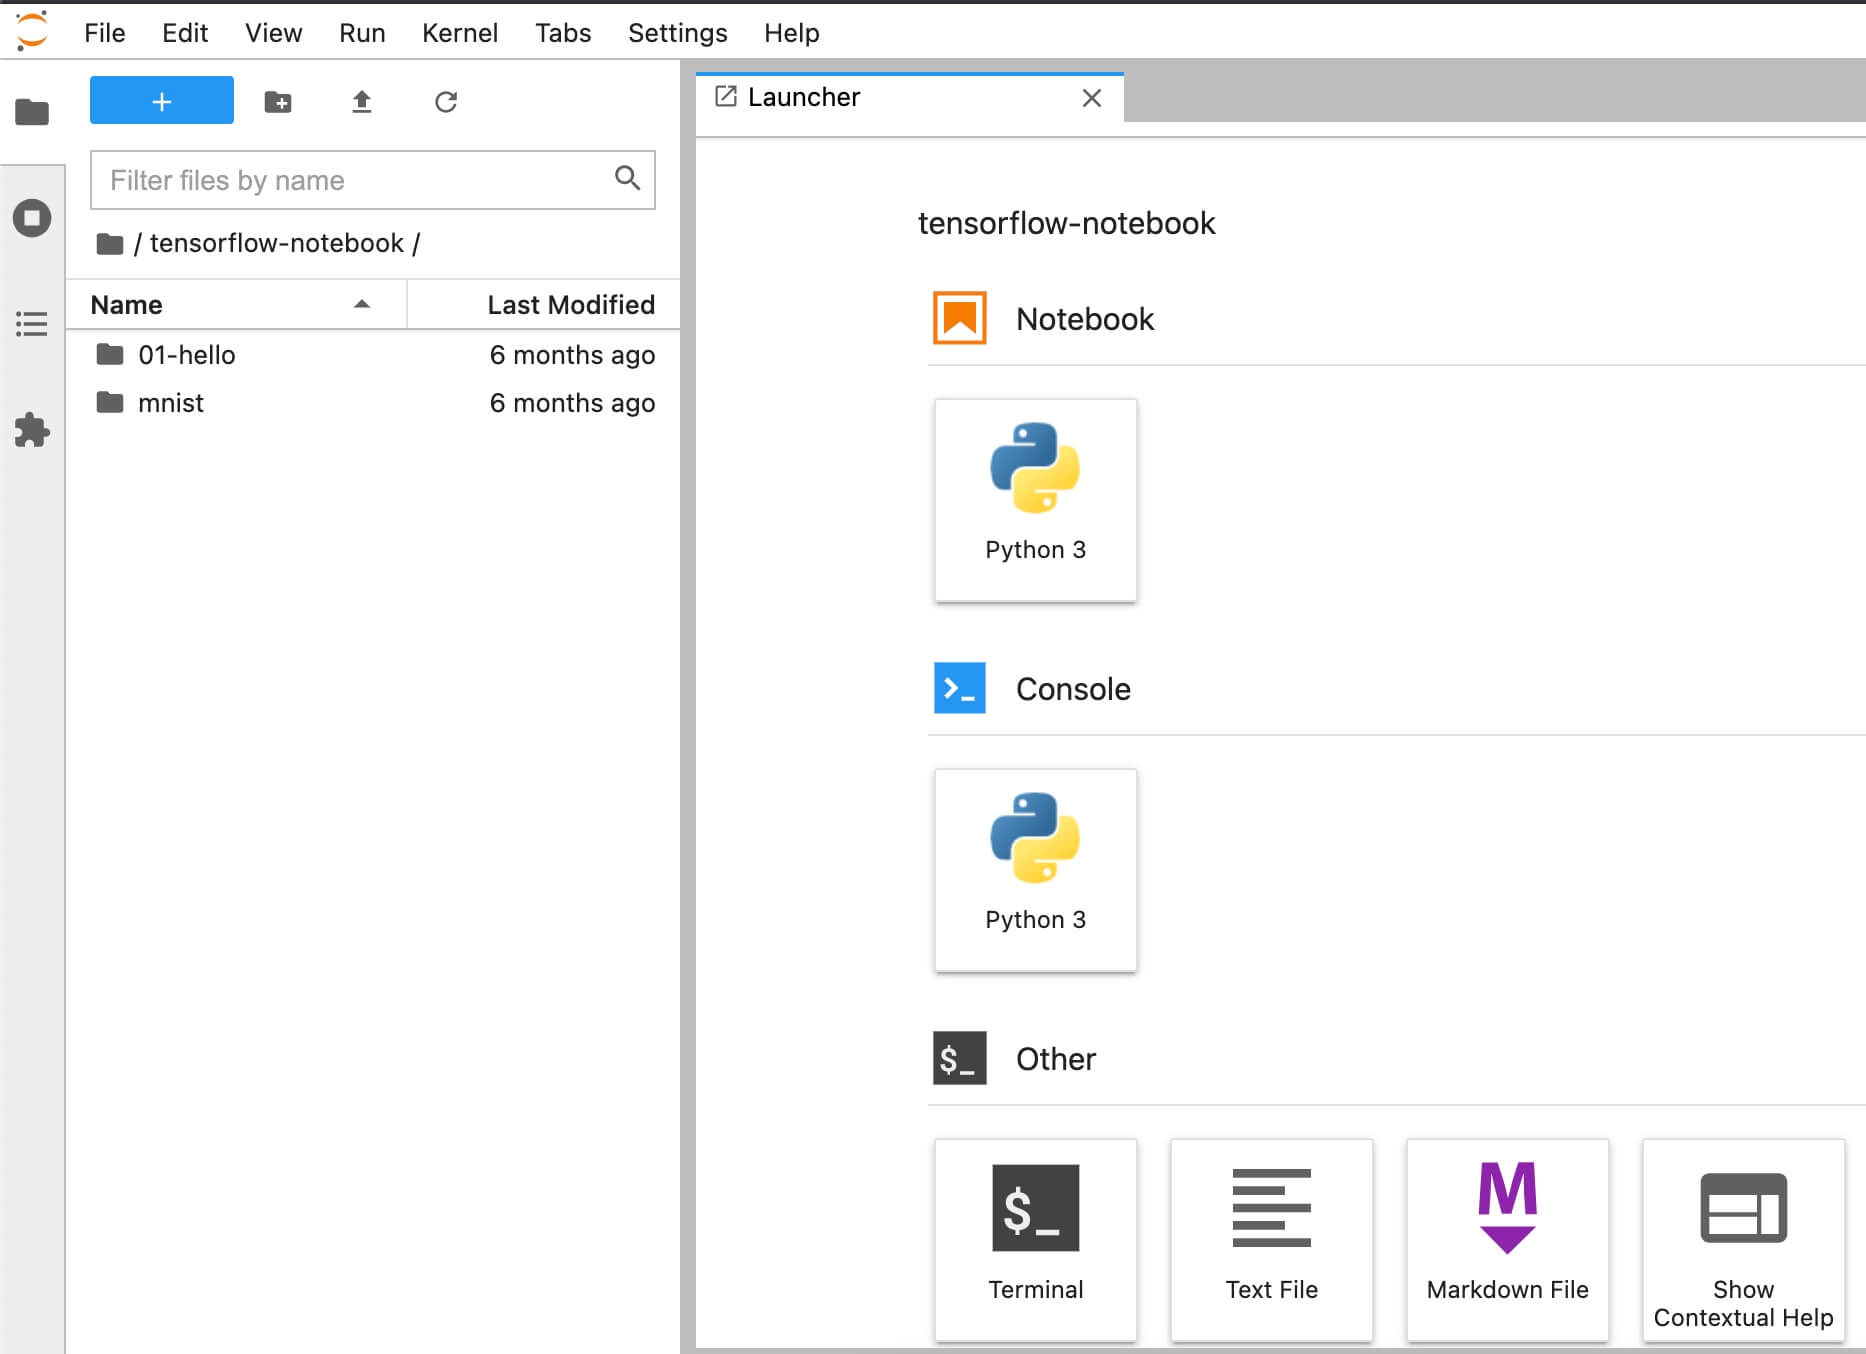
Run TensorFlow in JupyterLab
Run JupyterLab, select a folder (~/tensorflow-notebook/01-hello), and create a new file.

1
2
3
import tensorflow as tf
hello = tf.constant('Hello, TensorFlow!')
hello.numpy()

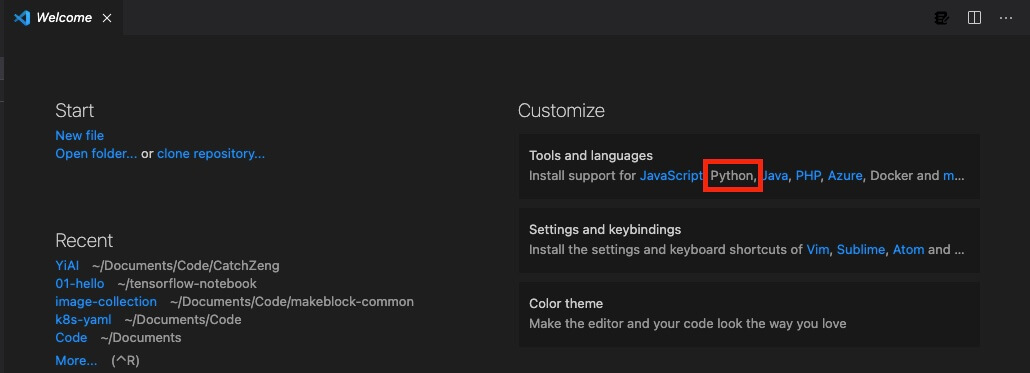
Install VSCode
Go to Official Website to download and install VSCode.
Open VSCode and install Python support.
Open the created ~/tensorflow-notebook/01-hello/hello.ipynb, and select Python as the created virtual environment.

Run TensorFlow in VSCode

Summary
At this point, the deep learning environment has been set up. You can choose to use the command line, JupyterLab or VSCode for development according to your own habits.
 AI - Mac 机器学习环境 (TensorFlow, JupyterLab, VSCode)