
- Conda
- 创建虚拟环境
- 安装 tensorflow
- 安装 JupyterLab
- 安装其他依赖
- JupyterLab 运行 tensorflow
- 安装 VSCode
- VSCode 运行 TensorFlow
- 小结
- 延伸阅读
在 Mac M1 机器学习环境 讲述了如何在 M1 芯片的 Mac 搭建机器学习环境。考虑到还有其他同学是普通的 Mac 电脑,本篇文章讲解如何在普通 Mac 电脑上安装机器学习环境。
Conda
Conda 是一个与语言无关的跨平台二进制软件包管理器。它是 Anaconda 安装所使用的程序包管理器,但也可以用于其他系统。
这里可以选择 Anaconda 或者使用仅包含 conda 及其依赖项的Miniconda。
注:更推荐使用轻量级的 Miniconda。因为对于初学者来说,Conda 大部分是用来创建虚拟环境的,Anaconda 功能丰富但是在这里就显得大材小用,并且安装包占用空间大。
Anaconda
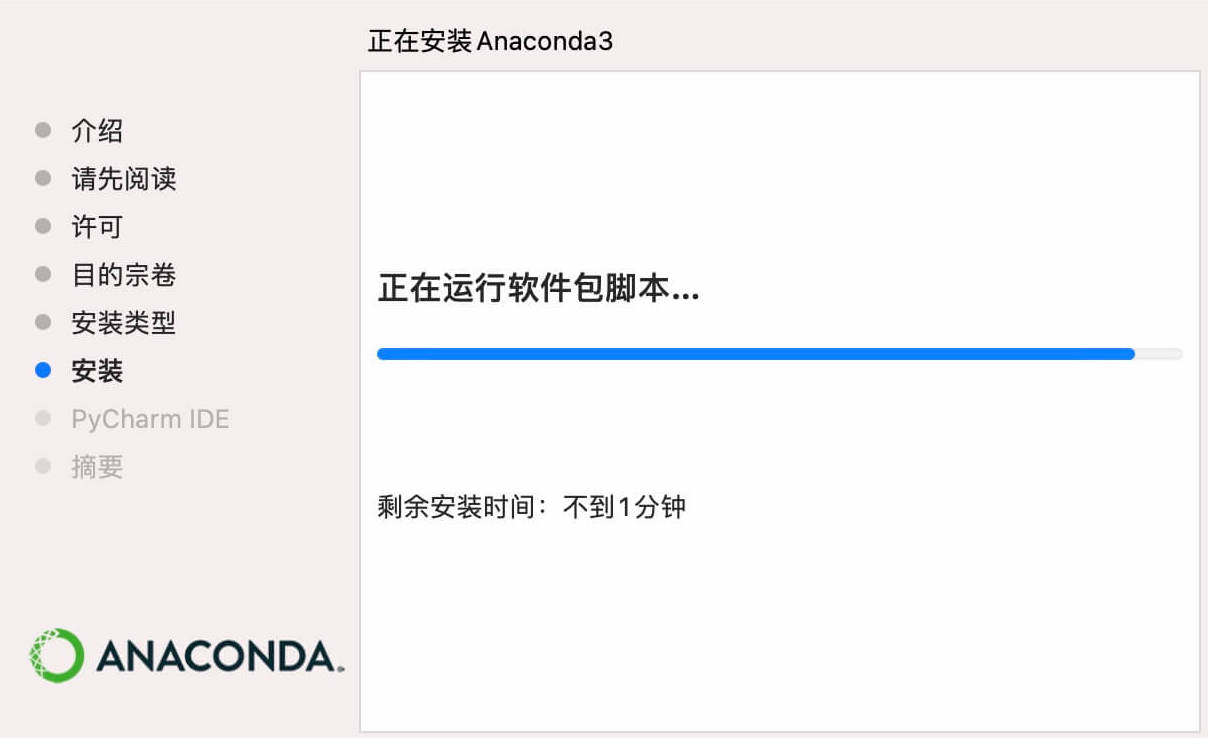
如果选择 Anaconda,前往官网下载并安装 Anaconda 即可。
Miniconda
Miniconda 提供了多种安装形式,可以到官网下载并根据提示安装即可。下面以 zsh 形式安装为例
1
2
3
4
5
6
7
8
9
10
11
12
13
14
15
16
17
18
19
20
21
22
23
24
25
26
27
28
29
30
31
32
33
34
35
36
37
38
39
40
41
42
43
44
45
❯ zsh Miniconda3-latest-MacOSX-x86_64.sh

Welcome to Miniconda3 py39_4.11.0

In order to continue the installation process, please review the license
agreement.
Please, press ENTER to continue
......
Miniconda3 will now be installed into this location:
/Users/catchzeng/miniconda3

  - Press ENTER to confirm the location
  - Press CTRL-C to abort the installation
  - Or specify a different location below

[/Users/catchzeng/miniconda3] >>>
PREFIX=/Users/catchzeng/miniconda3
Unpacking payload ...
Collecting package metadata (current_repodata.json): done
Solving environment: done
......
Do you wish the installer to initialize Miniconda3
by running conda init? [yes|no]
[yes] >>> yes
no change     /Users/catchzeng/miniconda3/condabin/conda
no change     /Users/catchzeng/miniconda3/bin/conda
no change     /Users/catchzeng/miniconda3/bin/conda-env
no change     /Users/catchzeng/miniconda3/bin/activate
no change     /Users/catchzeng/miniconda3/bin/deactivate
no change     /Users/catchzeng/miniconda3/etc/profile.d/conda.sh
no change     /Users/catchzeng/miniconda3/etc/fish/conf.d/conda.fish
no change     /Users/catchzeng/miniconda3/shell/condabin/Conda.psm1
no change     /Users/catchzeng/miniconda3/shell/condabin/conda-hook.ps1
no change     /Users/catchzeng/miniconda3/lib/python3.8/site-packages/xontrib/conda.xsh
no change     /Users/catchzeng/miniconda3/etc/profile.d/conda.csh
modified      /Users/catchzeng/.zshrc

==> For changes to take effect, close and re-open your current shell. <==

If you'd prefer that conda's base environment not be activated on startup,
   set the auto_activate_base parameter to false:

conda config --set auto_activate_base false

Thank you for installing Miniconda3!
创建虚拟环境
创建 tensorflow 虚拟环境
1
❯ conda create -n tensorflow python=3.9
激活该环境
1
❯ conda activate tensorflow
安装 tensorflow
这里可以选择安装指定版本(如:2.8.0) tensorflow
1
❯ pip install tensorflow==2.8.0
检查
1
2
3
4
5
6
7
❯ python
Python 3.9.7 (default, Sep 16 2021, 08:50:36)
[Clang 10.0.0 ] :: Anaconda, Inc. on darwin
Type "help", "copyright", "credits" or "license" for more information.
>>> import tensorflow as tf
>>> print(tf.__version__)
2.8.0
安装 JupyterLab
JupyterLab 被誉为下一代 Notebook,强烈推荐使用。相比于 Jupyter Notebook,JupyterLab 更像是一个 IDE,支持自动补全(直接 TAB 即可)、主题设置、多窗口打开等。
1
❯ pip install jupyterlab
启动
1
❯ jupyter lab
将自动用浏览器打开。
安装其他依赖
1
❯ pip install matplotlib
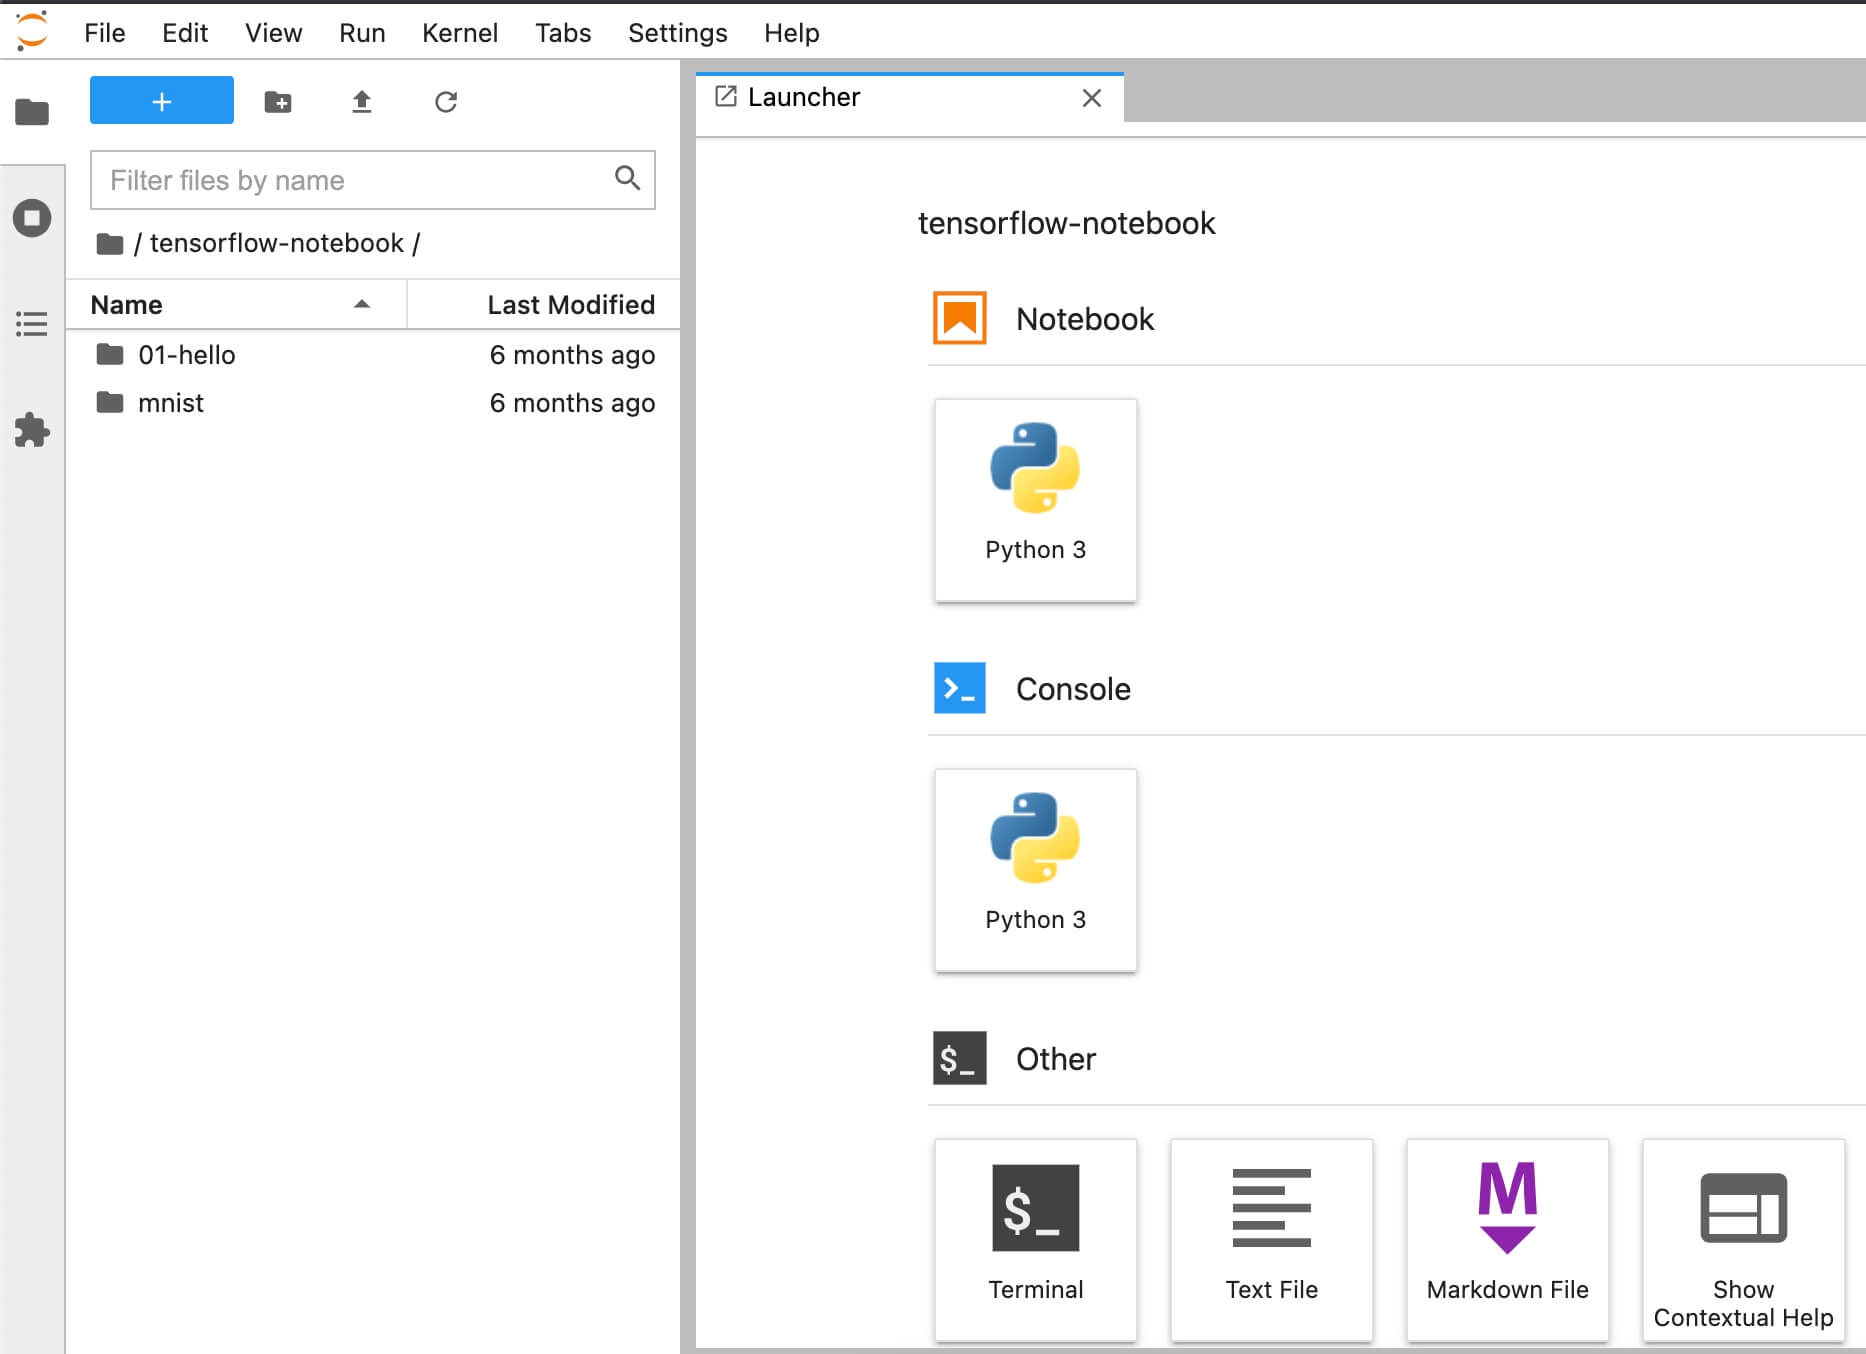
JupyterLab 运行 tensorflow
运行 JupyterLab,选择某个文件夹(这里以 ~/tensorflow-notebook/01-hello 为例),新建文件。

1
2
3
import tensorflow as tf
hello = tf.constant('Hello, TensorFlow!')
hello.numpy()

安装 VSCode
前往官网下载并安装 VSCode。
打开 VSCode 并安装 Python 支持。
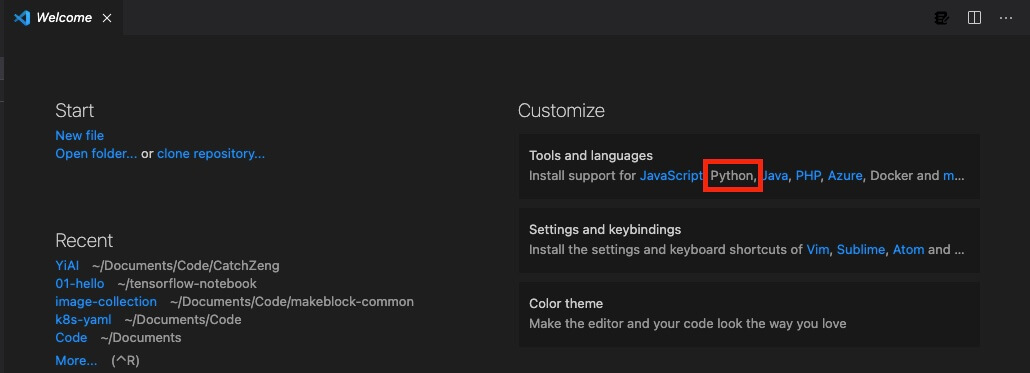
使用 VSCode 打开刚才创建的 ~/tensorflow-notebook/01-hello/hello.ipynb,并选择 Python 为创建的虚拟环境。

VSCode 运行 TensorFlow

小结
至此,开发环境已经搭建完毕。大家可以根据自己的习惯,选择使用命令行、JupyterLab 或者 VSCode 进行开发。
 AI - Deep Learning (TensorFlow, JupyterLab, VSCode) on Apple Silicon M1 Mac