
Note: Since https://github.com/apple/tensorflow_macos has been archived, it is recommended that you follow Apple Silicon Mac M1 natively supports TensorFlow 2.5 GPU acceleration and install the latest TensorFlow that supports GPU acceleration.
- Xcode
- Command Line Tools
- Homebrew
- Miniforge
- Download Apple TensorFlow
- Create virtual environment
- Install needed packages
- Install specific pip version and some other base packages
- Install packages(numpy, grpcio, h5py) provided by Apple
- Install additional packages
- Install TensorFlow
- Test
- JupyterLab
- VSCode
- Further reading
- Reference
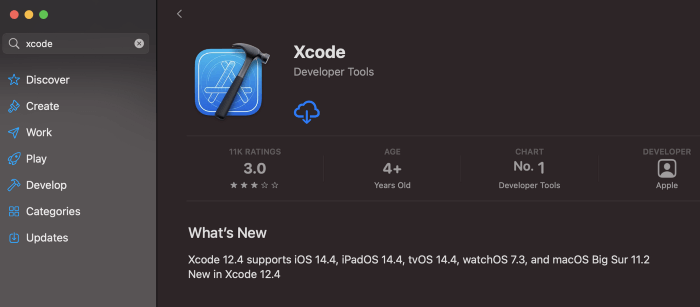
Xcode
Install Xcode from App Store.
Command Line Tools
Install Xcode Command Line Tools by downloading it from Apple Developer or by typing:
1
$ xcode-select --install
Homebrew
1
$ /bin/bash -c "$(curl -fsSL https://raw.githubusercontent.com/Homebrew/install/HEAD/install.sh)"
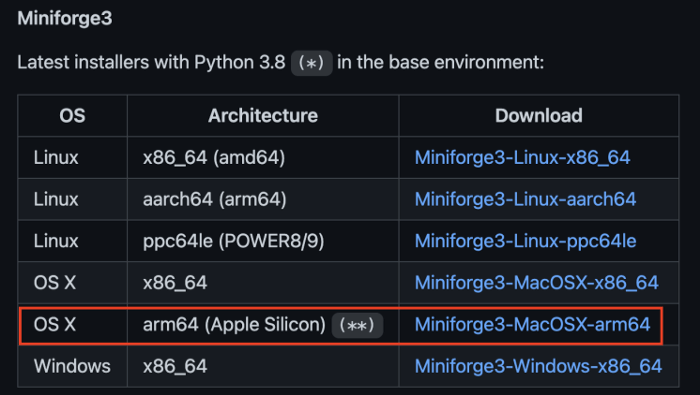
Miniforge
Anaconda cannot run on M1, Miniforge is used to replace it.
Download the Miniforge3-MacOSX-arm64 from https://github.com/conda-forge/miniforge.
Install Miniforge using the terminal.
1
$ bash Miniforge3-MacOSX-arm64.sh
Restart the terminal and check it.
1
2
3
4
$ which python
/Users/catchzeng/miniforge3/bin/python
$ which pip
/Users/catchzeng/miniforge3/bin/pip
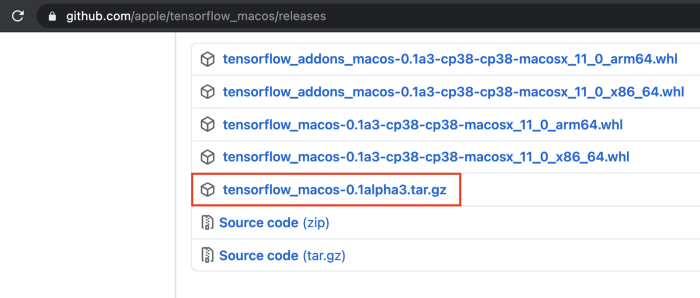
Download Apple TensorFlow
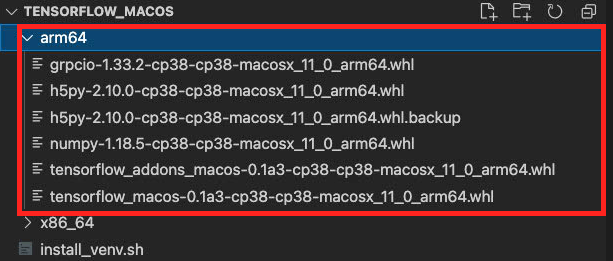
Download TensorFlow from https://github.com/apple/tensorflow_macos/releases, untar it, and go under the arm64 directory.
Create virtual environment
Create and activate a conda virtual environment with python 3.8 (as required for ATF 2.4).
1
2
$ conda create -n tensorflow python=3.8
$ conda activate tensorflow
Install needed packages
1
2
$ brew install libjpeg
$ conda install -y pandas matplotlib scikit-learn jupyterlab
Note: libjpeg is a required dependency for matplotlib.
Install specific pip version and some other base packages
1
$ pip install --force pip==20.2.4 wheel setuptools cached-property six packaging
Note: Apple TensorFlow needs a specific pip version.
Install packages(numpy, grpcio, h5py) provided by Apple
1
$ pip install --upgrade --no-dependencies --force numpy-1.18.5-cp38-cp38-macosx_11_0_arm64.whl grpcio-1.33.2-cp38-cp38-macosx_11_0_arm64.whl h5py-2.10.0-cp38-cp38-macosx_11_0_arm64.whl
Install additional packages
1
$ pip install absl-py astunparse flatbuffers gast google_pasta keras_preprocessing opt_einsum protobuf tensorflow_estimator termcolor typing_extensions wrapt wheel tensorboard typeguard
Install TensorFlow
1
2
3
$ pip install --upgrade --no-dependencies --force tensorflow_macos-0.1a3-cp38-cp38-macosx_11_0_arm64.whl
$ pip install --upgrade --no-dependencies --force
tensorflow_addons_macos-0.1a3-cp38-cp38-macosx_11_0_arm64.whl
Finally, upgrade the pip to give the developers the correct version.
1
$ pip install --upgrade pip
Test
TensorFlow
1
2
3
4
5
6
7
8
$ python
Python 3.8.8 | packaged by conda-forge | (default, Feb 20 2021, 15:50:57)
[Clang 11.0.1 ] on darwin
Type "help", "copyright", "credits" or "license" for more information.
>>> import tensorflow as tf
>>> print(tf.__version__)
2.4.0-rc0
>>>
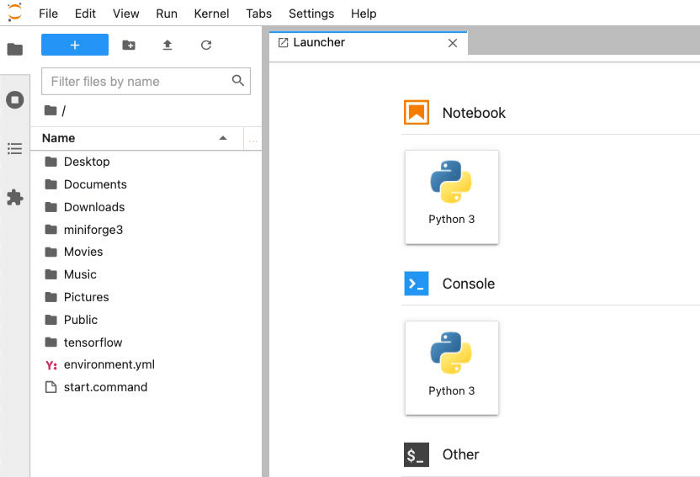
JupyterLab
1
$ jupyter lab
1
2
3
4
5
6
7
8
9
10
11
12
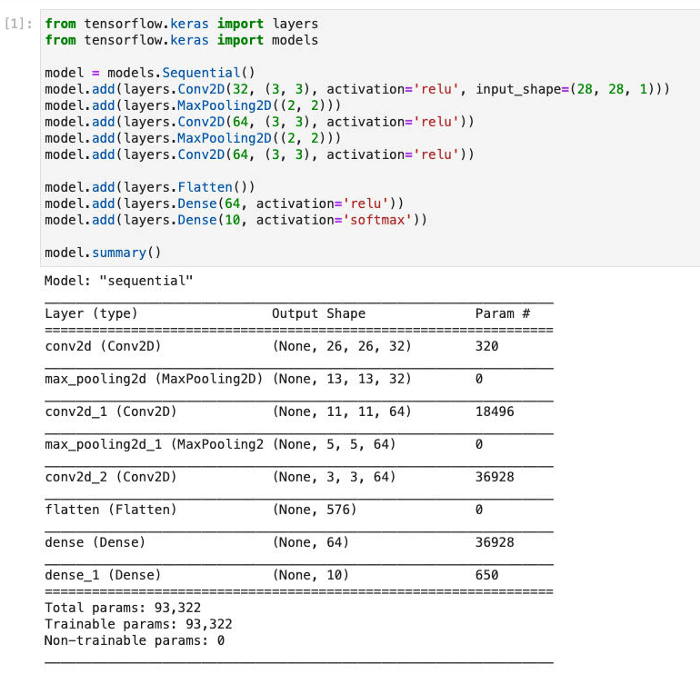
from tensorflow.keras import layers
from tensorflow.keras import models
model = models.Sequential()
model.add(layers.Conv2D(32, (3, 3), activation='relu', input_shape=(28, 28, 1)))
model.add(layers.MaxPooling2D((2, 2)))
model.add(layers.Conv2D(64, (3, 3), activation='relu'))
model.add(layers.MaxPooling2D((2, 2)))
model.add(layers.Conv2D(64, (3, 3), activation='relu'))
model.add(layers.Flatten())
model.add(layers.Dense(64, activation='relu'))
model.add(layers.Dense(10, activation='softmax'))
model.summary()
1
2
3
4
5
6
7
8
9
10
11
12
13
14
15
from tensorflow.keras.datasets import mnist
from tensorflow.keras.utils import to_categorical
(train_images, train_labels), (test_images, test_labels) = mnist.load_data()
train_images = train_images.reshape((60000, 28, 28, 1))
train_images = train_images.astype('float32') / 255
test_images = test_images.reshape((10000, 28, 28, 1))
test_images = test_images.astype('float32') / 255
train_labels = to_categorical(train_labels)
test_labels = to_categorical(test_labels)
model.compile(optimizer='rmsprop',
              loss='categorical_crossentropy',
              metrics=['accuracy'])
model.fit(train_images, train_labels, epochs=5, batch_size=64)
test_loss, test_acc = model.evaluate(test_images, test_labels)
test_acc

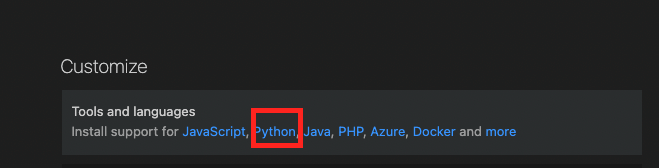
VSCode
Install Python support
Select virtualenv and trust the notebook
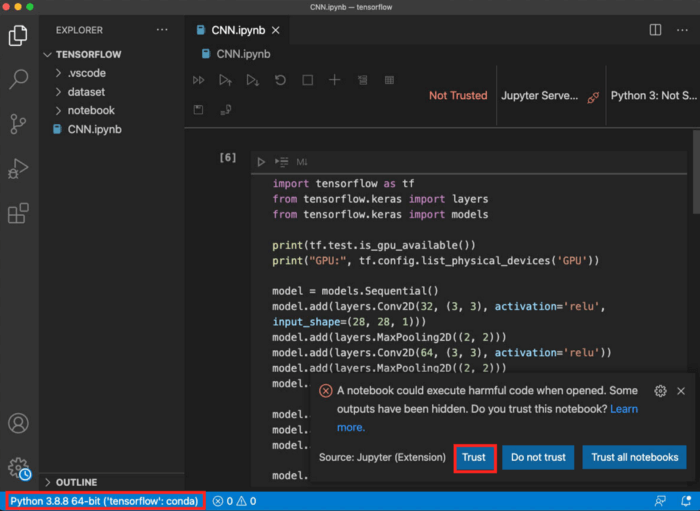
Run the notebook

Further reading
- Deep Learning (TensorFlow, JupyterLab, VSCode) on Mac
- Installing TensorFlow GPU on Ubuntu with apt
- Installing TensorFlow GPU on Win10
- Apple Silicon Mac M1/M2 natively supports TensorFlow 2.10 GPU acceleration (tensorflow-metal PluggableDevice)
 AI - Apple Silicon Mac M1/M2 机器学习环境 (TensorFlow, JupyterLab, VSCode)